Skip to content
QuiltBackingTally
A small studio for the back of your quilt

Quilt backing calculator.
Plan it. Piece it. Keep it.

Use the quilt backing calculator to turn your measured top into a clear fabric plan. Compare panels, account for seams and keep the cut notes beside your cloth.

Panels + purchase yardageOptional bindingNo account needed
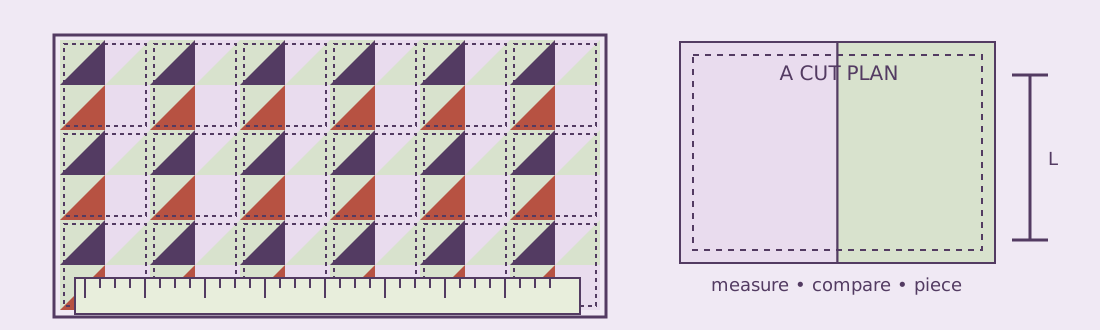
A plum and moss patchwork quilt, backing panels and a measuring tape

A cut note you can take to the table

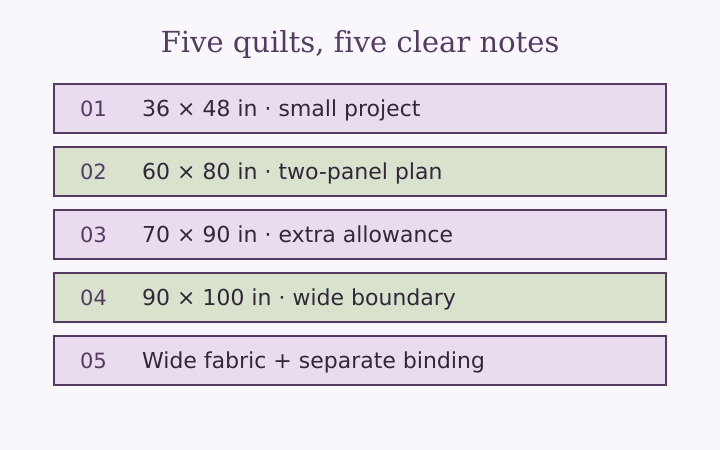
The starting example is a 60 × 80 in top, 4 in on each edge, 42 in usable width and a ½ in seam allowance. Replace each assumption with your own measurements.

The fabric planning tableNo account · browser only
1. Measure your quilt and fabric
Added to all four edges. Use the amount your quilter requests.
After selvages are removed; measure rather than using a bolt label.
A join uses twice this amount across two panels.
Total for both cut ends, not an amount per end.
Extra yardage only. Does not correct width shrinkage or match prints.
2. Optional binding estimate

Straight-cut strips only. Binding yardage is separate and is rounded to the same purchase increment. Bias binding, pattern matching and offcut reuse are excluded.

Suggested backing purchase

Vertical seams

Horizontal seams

Cut and join

The diagram shows panel orientation and the required backing area, not a pattern-matching or cutting template. Trim surplus only after checking the assembled size.

Estimates for equal full-width panels. Confirm print direction, shrinkage, actual usable width and your quilter’s instructions before buying or cutting.

Measure once. Read the whole plan.

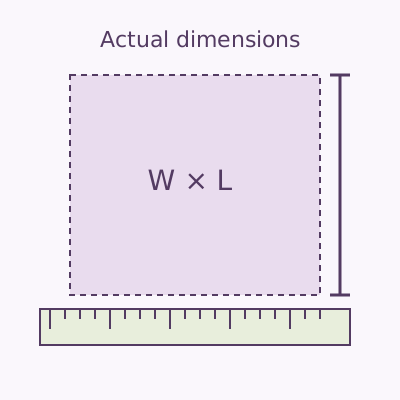
Start from actual measurements illustration

Start from actual measurements

Enter inches or centimetres. Switching units converts the length fields so the physical plan stays the same.

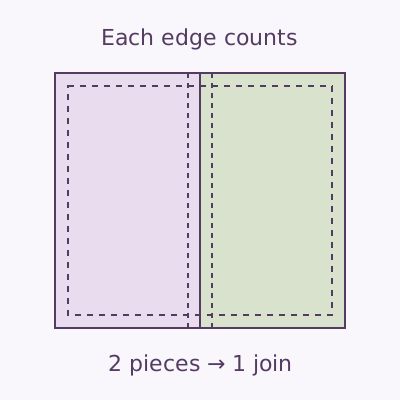
Account for every join illustration

Account for every join

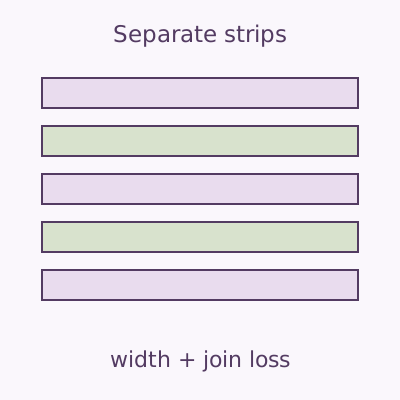
Panel coverage includes fabric used on both joined edges. A neat area estimate alone is not a cut plan.

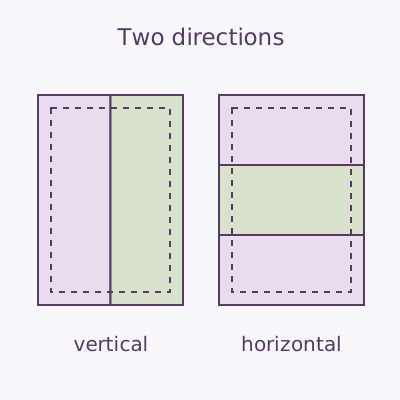
See both seam directions illustration

See both seam directions

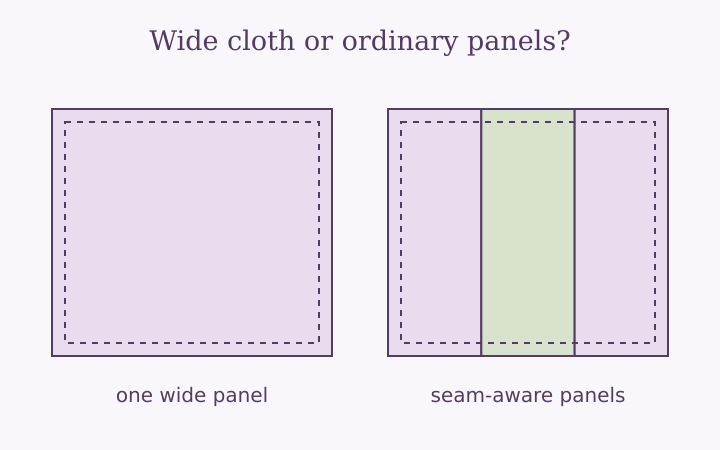
Compare vertical and horizontal panels, then restrict the choice for a print or quilting requirement.

Keep binding separate illustration

Keep binding separate

Estimate straight-cut strips with their own usable width, join loss and extra length for ends.

A simple route from top to backing

01

Measure the top and cloth

Use the completed top, usable fabric width and edge room requested by your quilter. Keep the print’s top edge identified.

02

Compare and choose

Check panel counts, cut lengths and seam direction. A cheaper rotated layout is useful only when its direction is acceptable.

03

Copy, label and verify

Copy the note, label your cuts and measure the assembled back before trimming. Check the actual cloth at each stage.

For the quilt on your table

Small quilts

Compare directions even on a small project. One dimension just beyond the usable width can require a second panel.

Bed quilts

Check the actual finished top instead of a size label. Borders and custom drops change the required backing rectangle.

Wide backing

Measure usable width and inspect the print before rotating. Wide fabric can remove joins without removing orientation choices.

Questions before the first cut

How much backing fabric do I need?

Enter the measured top, extra room on each edge and usable fabric width. The tool compares equal full-width panels after seam loss, adds cut-end allowance and rounds the shopping length upward.

What does usable fabric width mean?

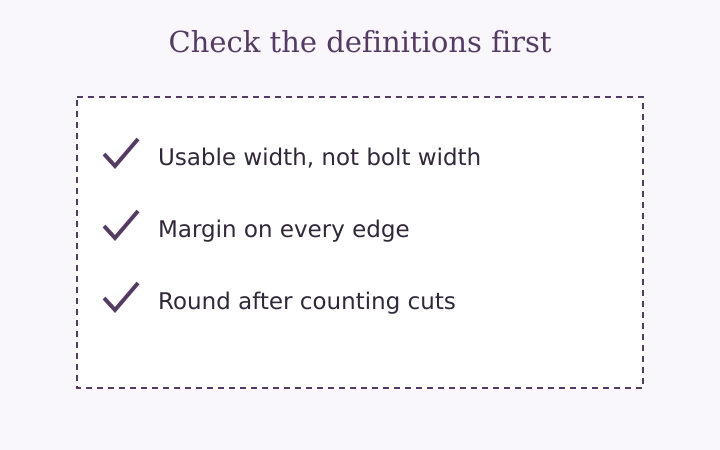
The span you can use after excluded edges and any preparation. A nominal bolt width may include selvages and should not replace a dependable measurement.

Does the lowest yardage always give the right layout?

No. Print direction or your quilter’s seam instructions may require a particular orientation. Select that restriction before accepting the cut plan.

Are my measurements saved?

Calculations run in browser memory without uploads, cookies or a persistent history. Copying transfers a plain-text note to your device clipboard.

Read the reasoning behind the yardage

Every quilt deserves its own cut note.

Use your top, your cloth and your quilter’s instructions. Keep the assumptions with the number.