
Quilt Backing Yardage Mistakes to Catch Before Cutting
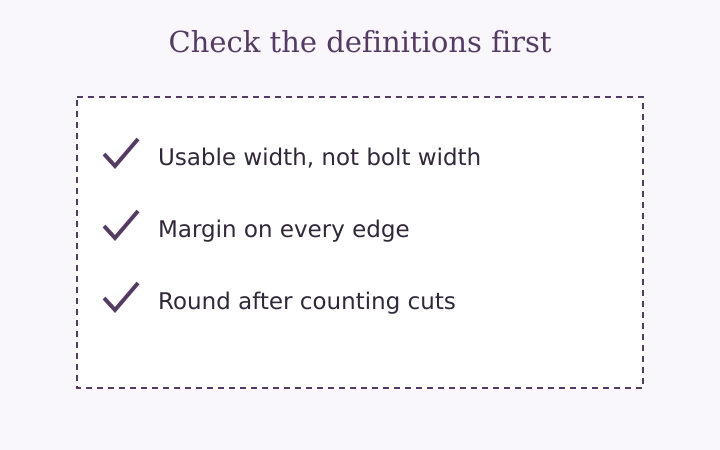
When asking how much backing fabric for a quilt to buy, a plausible yardage number can be more dangerous than an obviously impossible one. Several small input mistakes produce a neat answer that appears reasonable until the panels are cut. The solution is not to add a large unexplained buffer to every project. It is to identify which dimension or convention is wrong, correct the structural plan, and then add any deliberate shopping allowance. This checklist focuses on errors you can catch while the fabric is still intact.
Mistake one: calculating from the pattern instead of the top
A pattern’s planned dimensions are useful when budgeting fabric early, but they are not a measurement of a completed quilt. Borders, piecing and later changes can alter the top you actually have. If the back is cut to a target based on an earlier plan, extra inches added to the wrong dimensions may still leave it short. Measure again when the top is ready for its backing plan.
Keep the measurement orientation clear. Width and length matter when a print faces a particular direction or a quilter requests a specific seam arrangement. A square-looking folded quilt can hide which edge is intended as the top. Label that edge in your notes and enter width and length consistently. Rotating the fabric is a choice you should see, not an accidental consequence of swapping two fields.
If the top is uneven, do not stretch it to match the pattern’s listed size. Establish the usable measurements and discuss any concerns with the person quilting it. The calculator does not square a quilt, diagnose construction problems or decide which side should be ignored. It calculates from the rectangle you enter; the measurement decision remains part of preparing the real project.
Mistake two: treating an edge margin as a dimension allowance
Four inches extra on each side means eight extra inches in width and eight in length. For a 60 by 80 inch top, that gives 68 by 88 inches. Adding four once produces 64 by 84 inches, a different target. Both versions look tidy in a notebook, which is why the phrase on each side needs to stay beside the value.
Your quilter may ask for a margin that differs from the calculator’s starting example. Enter their requirement rather than reducing it to reach a cheaper panel count. If the margin changes, compare layouts again from the new backing rectangle. You cannot assume the same yardage will work because the top itself did not change.
Extra cut length per panel is also not another edge margin. In this tool it is a total for both cut ends, included once in each panel’s length. Entering two means two inches total, not two at each end. If you need two at each end, enter four. Read the full field label instead of transferring a familiar number without its definition.
Mistake three: counting unsewn widths as finished coverage
Two pieces at 42 usable inches start with 84 inches across, but a half-inch allowance on each joined edge removes one inch at their seam. The finished span is 83 inches. This difference matters when the target is near a threshold. A project needing 83.5 inches cannot use that two-panel plan merely because the unsewn pieces add to 84.
Three equal panels have two joins. The total loss is twice the allowance for each of those joins, not one allowance for the whole back and not three complete seam losses. The calculator accounts for the number of joins after finding the required panel count. If you change the sewing allowance, calculate again before cutting to the earlier note.
Check a boundary by hand
Take a target of 83 inches, a usable width of 42 and a half-inch allowance. Two joined panels fit exactly. Increase the target slightly and they no longer meet it. This is an excellent manual test of a plan because it reveals whether seam loss was omitted. Do not use a tiny tolerance in a calculator as permission to cut a physically short back.
Mistake four: believing extra yardage repairs lost width
A percentage purchasing allowance adds length along the roll. It does not make the roll wider or increase the finished span of joined panels. If fabric preparation reduces usable width, entering an extra percentage without updating that width leaves the panel geometry unchanged. The shopping number rises, yet the cut plan can remain impossible.
Measure or confirm the usable width in the condition in which you will cut it. Exclude selvages and any edges your assembly method removes. If the actual width requires another panel, recognize that change directly. The wide-versus-pieced comparison shows why a small width change can create a large jump in roll length.
The same distinction applies to matching a repeat. A general percentage may provide spare fabric, but it does not locate matching motifs or determine cut offsets. Use a separate print-matching plan based on the actual repeat. The simple diagram in the quilt backing calculator represents panel orientation and coverage, not decorative alignment.
Mistake five: rounding before all the panels are counted
Cut lengths should be kept precise through the panel calculation. Multiply the full number of required lengths, add the chosen percentage purchasing allowance, and then round the total upward to the shopping increment. Rounding each intermediate figure can either conceal a shortage or purchase more than the chosen plan actually calls for.
One yard is 36 inches. A requirement of 210 inches is approximately 5.833 yards; with quarter-yard purchasing it becomes six yards. It is not five and three-quarter yards merely because that nearby fraction feels familiar. The whole shopping quantity must remain at or above the computed requirement. Check any retailer-specific minimum or metric increment separately.
Do not treat the displayed metre conversion as a second rounding system. The calculator converts the selected rounded yard quantity to metres. If you shop in metres, follow the store’s actual increments and round up from the requirement. A display with three decimal places is a readable conversion, not a claim that a shop will cut to the nearest millimetre.
Mistake six: using a lower-yardage direction the print cannot accept
An unrestricted comparison may choose to rotate a wide fabric or change the seam orientation of ordinary panels. That can save roll length while turning a directional motif sideways. Choose a permitted direction before accepting the shopping recommendation, and look at the actual cloth rather than assuming a repeated pattern is nondirectional.
Your quilter’s seam instructions can also restrict the plan independently of print appearance. If a required direction uses more fabric, the additional length is part of satisfying that instruction. A lower number in the other comparison card is useful context, but it is not an alternative you have approved. Mark the chosen direction on the final cut note.
Mistake seven: borrowing binding fabric without a cut layout
The optional binding estimate uses a separate usable width, strip cut width, join loss and extra length for corners and ends. It does not subtract backing offcuts from that purchase. A surplus area is not automatically a set of uninterrupted strips with the right grain and direction. Measure actual leftovers and draw a cut layout before counting them as binding supply.
Diagonal joins commonly consume more length than a small straight seam allowance might suggest. The join-loss field therefore describes the length lost at each strip join explicitly. Check it against your method, especially when changing strip width. Straight-cut strips are supported; continuous bias binding is a different geometry and is not estimated by this tool.
Before cutting, read the note from top to bottom: top measurements, margin, usable widths, seam allowances, end allowance, permitted direction and purchase increment. Compare with the step-by-step calculation guide if a label is unclear. Catching a mistaken definition now is more useful than buying extra fabric after the first incorrect cut.
Frequently asked questions
Can a shopping percentage compensate for fabric width shrinkage?
No. It adds roll length only. Update usable width after preparation and recalculate the panel count.
Does two inches extra cut length mean two at each end?
No. In this calculator it is the total added to each panel length. Two inches at each end would require four inches total.
Keep the plan with your fabric
Use the quilt backing calculator to make a cut note for your measured top. Confirm the usable width, allowances and print direction before buying. Copy the note, label the fabric and check the assembled back before trimming.
More notes from the sewing table
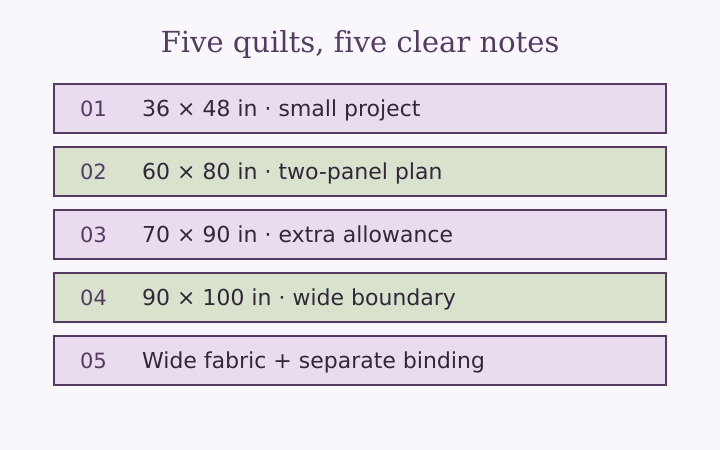
Quilt Backing Yardage Chart: Five Worked Examples
Explore five quilt backing yardage examples with explicit top sizes, widths, seams, cut lengths, quarter-yard rounding and optional binding.
Read the note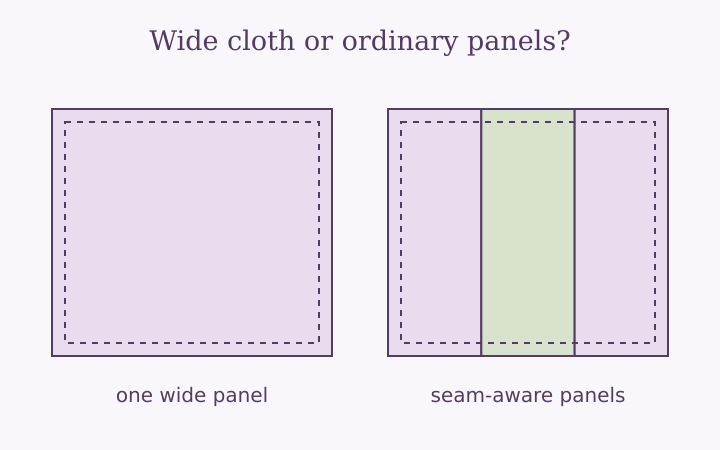
Wide Quilt Backing vs Pieced Panels: Compare the Plan
Compare wide quilt backing with ordinary-width panels using usable width, cut length, seams, print direction and shopping increments.
Read the note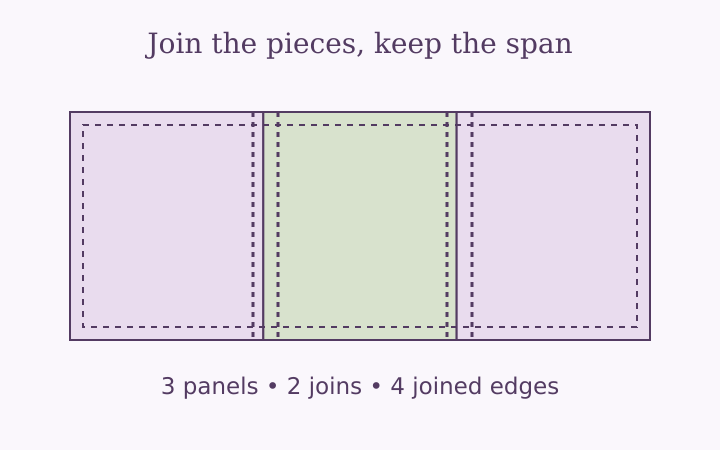
How to Piece Quilt Backing Without Losing Coverage
Learn how to piece quilt backing with usable-width measurements, seam-aware panel counts, orientation checks and a clear assembly note.
Read the note