
How to Use a Quilt Backing Calculator
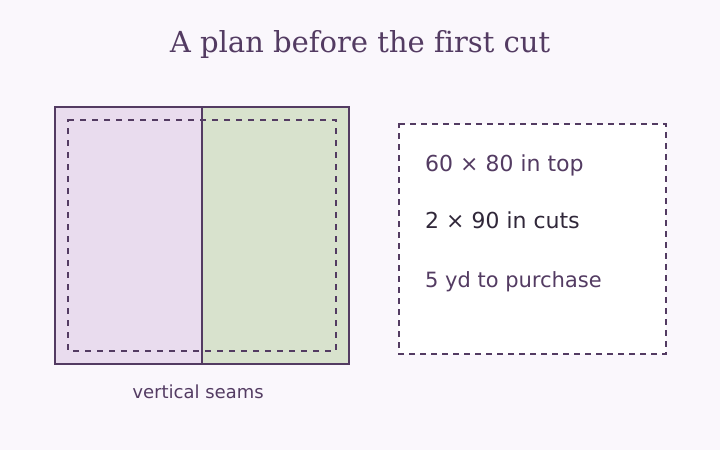
A quilt backing calculator turns a few measurements into a shopping length and a panel plan. The useful result is more than a single yardage figure: you should know the size of the back you need, how many pieces to cut, which direction the seams run, and what allowances the number includes. This walkthrough follows a fictional 60 by 80 inch quilt top from measurement to a labeled cut note. It assumes ordinary equal full-width fabric panels, not a decorative pieced back or a pattern-matching layout.
Measure the top you actually have
Lay the completed top flat without pulling it into a new shape. Measure its width and length in consistent units, then check another position if the edges vary. A pattern’s advertised finished size is a useful starting point while planning, but a completed top may differ after piecing and borders. The backing has to accommodate the actual object, so enter the current measurements once they are available.
In this example, the top measures 60 inches wide and 80 inches long. Width is the left-to-right direction when the quilt is viewed the way you intend it to lie; length is the top-to-bottom direction. That convention helps you interpret vertical and horizontal seams later. For a directional print, write down which edge is the top rather than relying on memory after the fabric is folded.
Before shopping, ask the person who will quilt the project about backing size, seam placement and preparation. Your own machine setup may require different clearance from a longarm service. The calculator’s starting value is a planning example, not a universal instruction. Quilted Joy’s backing guidance describes its own extra-edge requirements; your chosen quilter’s instructions should determine your entry.
Add the edge allowance twice in each direction
Enter four inches of extra backing on each side for this worked example. The required width becomes 60 + 4 + 4 = 68 inches. The required length becomes 80 + 4 + 4 = 88 inches. A common misunderstanding is to add four inches once to each dimension, which supplies only two inches per edge if the quilt is centered.
Keep this margin separate from trimming room on the ends of individual fabric panels. Margin enlarges the assembled backing rectangle. Extra cut length lets you square the cut ends and still retain that rectangle. The two settings address different parts of the plan, so removing one because the other exists can leave you short. Enter the amount requested for all four sides, then choose the separate end allowance deliberately.
The quilt backing fabric calculator displays the target backing size beside the yardage. Pause there and check 68 by 88 inches against your written note. If it is wrong, correct the top size or margin before studying the panel options. A reliable answer begins with the right rectangle, even when every later arithmetic step is accurate.
Enter usable width rather than nominal bolt width
For this example, the backing fabric has 42 usable inches after its selvages are removed. That is the number entered in the fabric width field. The width printed on the bolt may include edges you do not intend to sew into the backing, and the cloth may not measure exactly as expected after preparation. Measure a sample or confirm the usable specification when the decision is close.
Set the seam allowance to half an inch on each joined edge. Two 42 inch panels do not produce 84 inches of joined coverage: a seam takes half an inch from both pieces. Their combined span is therefore 42 + 42 − 1 = 83 inches. That easily covers the required 68 inches in the vertical layout, with surplus width to manage according to the quilting plan.
Check the seam convention
The input is an allowance on one joined edge, not the total consumed by the whole join. If you enter one inch while intending a half-inch allowance, the calculator subtracts two inches per join. Read the label with the setting in your own sewing instructions. The article on backing measurement mistakes explores this and other plausible-looking input errors.
Compare the two full-width panel layouts
With vertical seams, the panels run along the quilt’s length and join side by side to cover its width. Two panels cover 83 inches across, and each must provide the 88 inch backing length. With a total of two inches of extra cut length per panel, cut each panel 90 inches long. Two lengths of 90 inches require 180 inches along the roll, or exactly five yards.
With horizontal seams, panels run across the quilt’s width and stack to cover its length. Three panels are needed because two provide 83 inches, less than the 88 inch target. Each panel is cut 70 inches long: the required 68 inch backing width plus two inches of end allowance. The three lengths total 210 inches, or about 5.833 yards before purchase rounding.
At quarter-yard increments, the horizontal shopping figure is six yards and the vertical figure is five yards. The comparison is useful because an area calculation cannot see the difference. Dividing backing area by fabric width can suggest a continuous length that cannot be arranged into the required full-width pieces. The cut plan checks the panel geometry before presenting purchase yardage.
Decide which directions are actually allowed
The smaller shopping figure does not automatically decide the layout. A directional print may need to face a specific way, and a quilter may request a seam orientation for their loading method. Select vertical-only or horizontal-only when one direction is required. The other comparison remains visible for context, but the suggested purchase follows your restriction rather than silently choosing the cheaper direction.
If your print must match at seams, this simple panel model is incomplete. Repeat matching can require extra length, careful offsets or a different arrangement. The purchasing allowance is a general buffer and does not calculate those offsets. Use the worked result as a base, then make a separate matching plan with actual repeats and cut positions. Do not treat the diagram as a printed cutting template.
Copy the plan and check it before cutting
The default example has no percentage purchasing allowance. If you add one, it increases the roll length after the panel cuts are calculated and before rounding. It does not expand the usable width, reduce seam consumption or predict washing shrinkage. If preparation changes width, enter the measured usable width after that change and recalculate. A length buffer cannot repair a panel that is too narrow.
Copy the notes and keep them with the fabric: top size, margin, usable width, seam allowance, end allowance, chosen direction and number of panels. Mark the cut lengths before making the first irreversible cut. After joining, measure the back again before trimming surplus. For alternative examples, compare the illustrative yardage chart; its assumptions are explicit, so it can help you check the logic without replacing your measurements.
Frequently asked questions
Does the default five-yard result include extra on the quilt edges?
Yes. The example adds four inches to every edge, then two inches total cut-end allowance per panel. It uses 42 usable inches, half-inch seam allowances and quarter-yard purchase rounding.
Can I rotate a directional fabric to save yardage?
Only if that direction is acceptable for the print and your quilting plan. Use a restricted direction when rotation would change the intended appearance.
Keep the plan with your fabric
Use the quilt backing calculator to make a cut note for your measured top. Confirm the usable width, allowances and print direction before buying. Copy the note, label the fabric and check the assembled back before trimming.
More notes from the sewing table
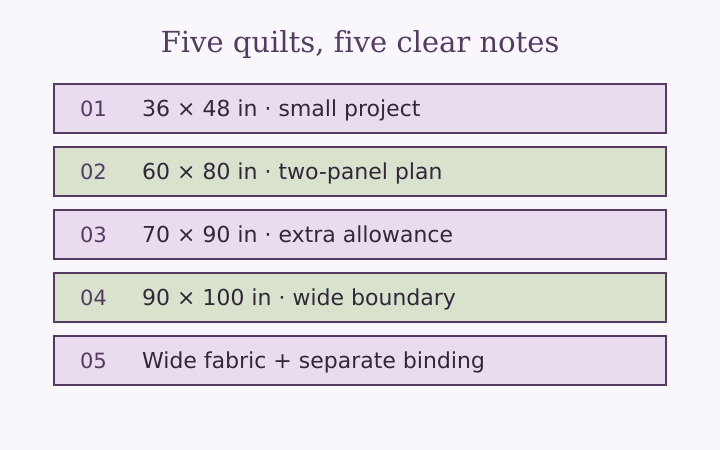
Quilt Backing Yardage Chart: Five Worked Examples
Explore five quilt backing yardage examples with explicit top sizes, widths, seams, cut lengths, quarter-yard rounding and optional binding.
Read the note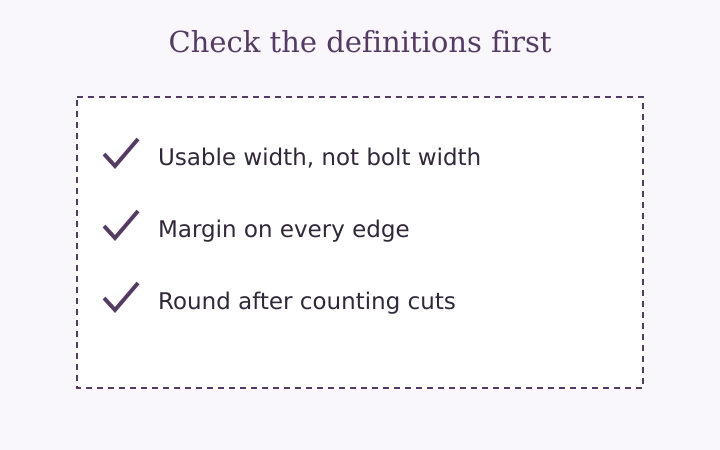
Quilt Backing Yardage Mistakes to Catch Before Cutting
Avoid quilt backing yardage errors caused by nominal widths, missing seam losses, wrong margins, early rounding and unmatched print directions.
Read the note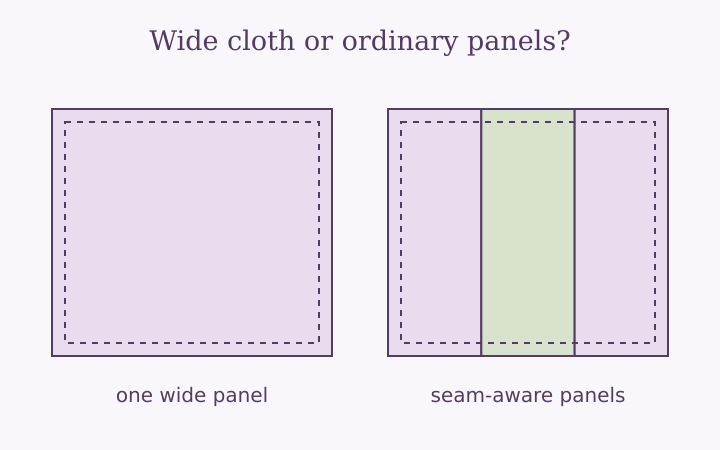
Wide Quilt Backing vs Pieced Panels: Compare the Plan
Compare wide quilt backing with ordinary-width panels using usable width, cut length, seams, print direction and shopping increments.
Read the note