
How to Piece Quilt Backing Without Losing Coverage
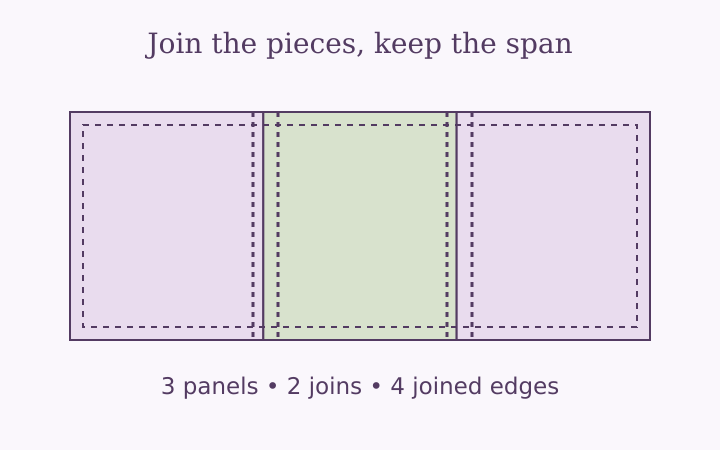
Learning how to piece quilt backing starts with a layout decision, not with the first seam. You are building a rectangle large enough for quilting from fabric supplied at a particular usable width. The number of panels, their orientation and the cloth consumed at joins determine whether the assembled back fits. This guide concentrates on an equal full-width panel back, a practical model that is easy to document and check. A decorative back assembled from many leftover pieces needs its own measured design rather than a generic yardage shortcut.
Separate the design from the minimum backing rectangle
Start with the completed quilt top and the extra room requested around its edges. Write the target backing width and length as two explicit figures. For a 70 by 90 inch top with four inches on each side, that target is 78 by 98 inches. The target does not tell you how the back should look, but it establishes a coverage requirement that every possible design must meet.
Now consider the fabric’s appearance. Does it have a clear up direction, a border print, a large motif or a repeat you want to align? A fabric that appears symmetrical from a distance may still reveal a direction when the quilt is turned over. Spread enough of it out to examine the pattern before selecting a seam direction. A small swatch can conceal the very feature that determines the layout.
If someone else will quilt the piece, discuss the proposed backing before assembly. The service may have preferences about seams, preparation or fabric choices. This longarm provider’s guide is useful context for asking those questions, but it does not substitute for your own provider’s requirements. Keep the actual instructions with your project note rather than memorizing a number from another workshop.
Work with prepared usable fabric
Usable width means the width remaining after edges that you will remove have been excluded. If the cloth is prepared before cutting, measure it in that condition. Do not assume that a nominal width, a usable width and a width after washing are identical. When possible, record the fabric identity and the measurement date so that another piece from your stash is not mistaken for the same material.
Make preparation choices according to the material guidance and the needs of the project. The calculator does not decide whether to prewash, identify dye behavior or estimate fabric-specific shrinkage. It assumes the entered width can actually be used in each panel. If you change the preparation plan, review the dimensions instead of compensating with an arbitrary percentage that only adds length along the roll.
A consistent measuring surface helps when checking long pieces. Avoid stretching cloth to reach a hoped-for width. If the available span varies, plan around the reliable usable measurement rather than a generous spot. This is especially important near a panel-count boundary: losing a small amount of width can require an additional full cut length, not merely a few extra inches at the end.
Understand what a seam removes
Each join consumes fabric from two adjacent edges. If both edges use a half-inch allowance, the combined width loses one inch per seam. Three panels create two seams, not three. The joined span is panel count multiplied by usable width, minus twice the seam allowance multiplied by the number of joins. It is this span, rather than the sum of unsewn widths, that must cover the backing target.
For example, two panels at 42 usable inches join to an 83 inch span with half-inch allowances. Three panels join to 124 inches. These numbers are arithmetic examples, not mandatory seam specifications. Enter the allowance your assembly method requires, and use it consistently when sewing. Changing the allowance after calculating can change the real coverage, particularly on a close-fitting back.
Minimum panel counts are discrete
You cannot buy or sew 2.2 complete panels in this model. The calculator chooses the smallest whole number that covers the required dimension after joins. If two panels miss by a fraction of an inch, a third panel is still required unless you deliberately choose another design. Reducing a margin just to force the smaller number is not a sound substitute for meeting your quilter’s clearance requirement.
Choose a direction and write a cut list
Vertical seams place the panel lengths along the quilt’s top-to-bottom direction. Horizontal seams place them across its left-to-right direction. The terminology describes the seams on the finished back, not the way a folded bolt happens to sit on your table. Labeling the quilt’s top edge and the fabric’s intended direction makes the comparison easier to follow.
Enter the target measurements in the quilt backing calculator and read both layouts. For the 70 by 90 inch example, 42 usable inches and half-inch allowances permit two vertical panels. The target length is 98 inches; with two inches total end allowance, each cut is 100 inches. The raw roll length is 200 inches, or about 5.556 yards, before rounding or a separate purchasing buffer.
A horizontal arrangement needs three panels to cover the 98 inch target length. Each cut is 80 inches, including the same two-inch end allowance. That makes 240 inches of roll length, about 6.667 yards. These figures illustrate why orientation affects shopping even though the desired backing area is unchanged. For fabric-width alternatives, read wide backing versus ordinary panels.
Assemble deliberately rather than trimming early
Use your chosen sewing method and seam allowance, and follow any preparation or pressing instructions relevant to the material and quilting service. The calculator supplies a cut geometry, not a substitute for a sewing tutorial or professional handling advice. Keep the panels identified as you work so the intended direction is not lost when a long piece is rotated for convenience.
After the joins are complete, measure the backing rectangle again. Confirm that its coverage meets the target and that the ends can be squared without removing needed length. Surplus across a wide assembled back is not an error by itself; full-width panels often leave extra cloth. Trim only after deciding what the final measured rectangle should be and checking the quilter’s loading needs.
If you discover a short side, stop and revise the design before assuming batting or binding will conceal it. A backing that is too small at the quilting stage is a different problem from a finished edge that will later be bound. Document any added strip as a change to the original panel plan, then measure the actual assembled back rather than continuing to quote the earlier estimate.
Keep offcuts and binding as separate plans
This tool does not reuse surplus backing in the binding estimate. That conservative separation makes the shopping note easier to audit: the backing panels are one purchase requirement, and straight-cut binding from another fabric is another. You may use suitable offcuts in a real project, but first confirm the strip widths, available uninterrupted lengths, print direction and join losses in an actual cutting layout.
Small leftovers are often attractive for a decorative back, yet a collection of pieces can have enough total area without the dimensions needed for a simple rectangle. Treat that as a design exercise, not an area conversion. Sketch the pieces, include every seam and measure the assembly. The measurement mistakes checklist can help distinguish a shopping allowance from a missing structural piece.
Frequently asked questions
How many seams do three backing panels create?
A simple row of three panels has two joins. At half an inch on each joined edge, those joins consume two inches of combined coverage.
Will the tool plan a decorative scrap backing?
No. It plans equal full-width panels. A decorative or scrap back needs its own cut layout, seam accounting and final measurements.
Keep the plan with your fabric
Use the quilt backing calculator to make a cut note for your measured top. Confirm the usable width, allowances and print direction before buying. Copy the note, label the fabric and check the assembled back before trimming.
More notes from the sewing table
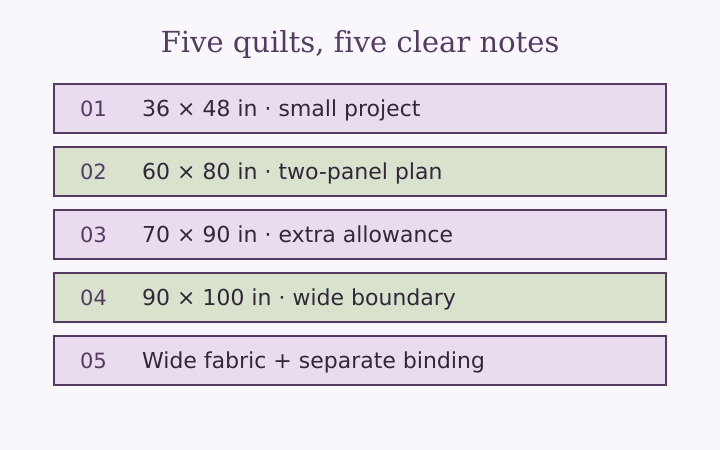
Quilt Backing Yardage Chart: Five Worked Examples
Explore five quilt backing yardage examples with explicit top sizes, widths, seams, cut lengths, quarter-yard rounding and optional binding.
Read the note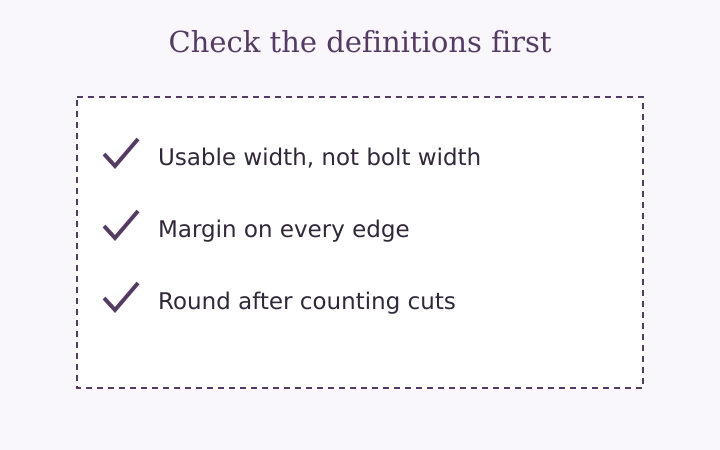
Quilt Backing Yardage Mistakes to Catch Before Cutting
Avoid quilt backing yardage errors caused by nominal widths, missing seam losses, wrong margins, early rounding and unmatched print directions.
Read the note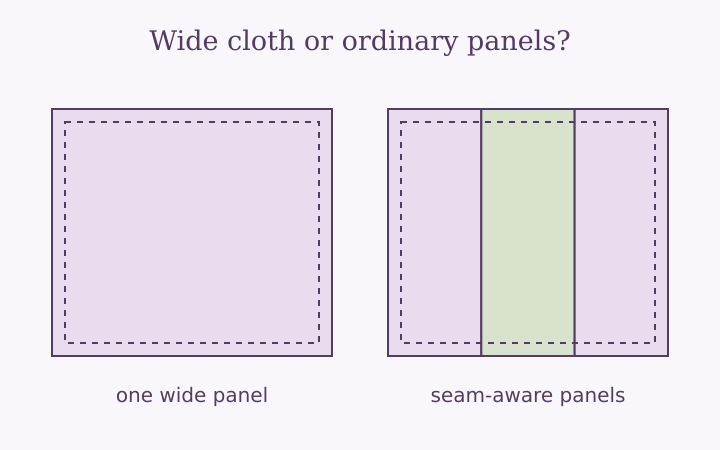
Wide Quilt Backing vs Pieced Panels: Compare the Plan
Compare wide quilt backing with ordinary-width panels using usable width, cut length, seams, print direction and shopping increments.
Read the note