
Wide Quilt Backing vs Pieced Panels: Compare the Plan
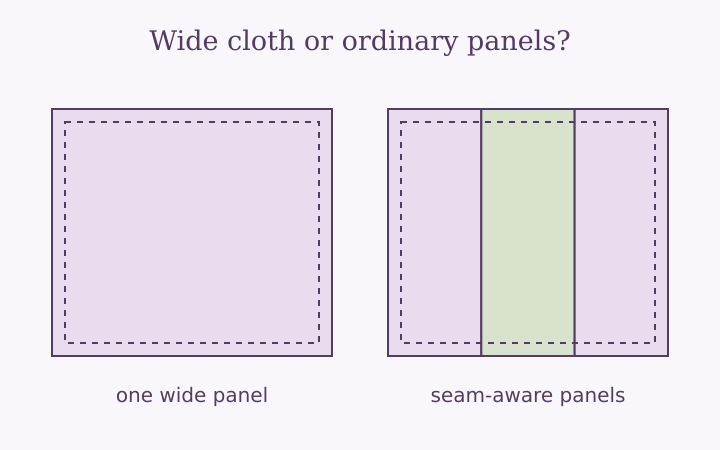
A quilt backing fabric calculator can compare two fabrics that look like very different purchases: one wide piece and several narrower panels. The roll length alone does not tell you which option suits your project. Usable width, seam geometry, print direction and purchase increments all affect the plan, while price and preparation remain separate decisions. This comparison uses original examples to show what changes when you substitute wide backing for ordinary-width cloth. No fabric price, universal width or automatic quality advantage is assumed.
Compare the same required backing rectangle
Begin with one quilt top and one edge allowance for both fabrics. If you change the margin while comparing, you are comparing different requirements. Our example is a 60 by 80 inch top with four inches extra on every side, giving a 68 by 88 inch backing target. Both purchases must provide that rectangle after the chosen preparation and assembly, even if their surplus looks different.
Use two inches total extra cut length per panel and quarter-yard shopping increments for this comparison. These are explicit planning settings, not fixed instructions for every quilt. The narrower cloth measures 42 usable inches. The wide cloth measures 106 usable inches. Those are fictional measured widths chosen for the example, deliberately distinct from nominal bolt descriptions that may include selvages or change after preparation.
Keep the print decision consistent too. First assume either orientation is acceptable, so the calculator may compare vertical and horizontal seams. Later, restrict the direction to see what that changes. This avoids a misleading result in which one fabric is allowed to rotate and the other is judged using a single orientation without explaining why.
Ordinary width requires a joined back
With 42 usable inches and half-inch allowances, two side-by-side panels provide 83 inches after their join. They cover the 68 inch target width, so the vertical layout needs two lengths. Each length must cover 88 inches plus the two-inch cut-end allowance. The shopping base is therefore two times 90 inches, or 180 inches: five yards before any extra purchasing percentage.
The horizontal alternative needs three panels because the 88 inch target exceeds the 83 inch span of two joined widths. Each panel is 70 inches long, including end allowance. Three lengths require 210 inches, about 5.833 yards, rounded to six yards at quarter-yard increments. The default calculator selects the five-yard vertical option when both directions are permitted.
The comparison tells you how much roll length the assumed panel arrangement uses. It does not calculate labor time, thread, matching repeats or the value of useful leftovers. A pieced back may be exactly the appearance you want, even when another fabric needs fewer cuts. For assembly details, see the guide to how to piece quilt backing.
Wide fabric can remove seams but still has an orientation
At 106 usable inches, one panel can cover either the 68 inch width or the 88 inch length. There are no joins, so the seam allowance removes nothing from the single-panel span. If the fabric’s width covers the quilt width, cut a 90 inch length including end allowance. That is 2.5 yards. In this orientation, the roll runs along the quilt’s length.
If the width of the fabric instead covers the quilt length, cut a 70 inch piece including end allowance. That is about 1.944 yards, rounded up to two yards. With no directional restriction, the calculator identifies this as the lower-yardage horizontal orientation. A seamless back still has a fabric direction, even though the label describing seam orientation refers to a plan with zero actual seams.
A shorter roll length can mean a rotated print
A design of upright trees, text or figures may make the two-yard orientation undesirable. Restrict the allowed direction in the quilt backing calculator and read the selected cut length again. The result changes because the allowed placement changes, not because the tool is adding a mysterious safety factor. Inspect the print before assuming a rotation is harmless.
Convert yardage into a real cost comparison
When you have current prices from your shop, multiply each option’s rounded shopping yardage by that option’s price per yard. Use the actual purchase quantities rather than the raw decimal cut requirement. Include any shop minimums, cutting increments or other costs you intend to compare. A wide fabric with a higher per-yard price may or may not produce a lower total; the answer depends on those inputs.
Do not compare a price per metre directly with a price per yard. One yard is 0.9144 metres. The calculator displays an equivalent metre length, but the purchase rounding is still defined in yards. If a retailer sells only particular metric increments, round upward according to that retailer’s rules separately. The displayed metre figure is a conversion of the chosen yard purchase, not an independent metric shopping policy.
You can also record the number of joins and the kind of surplus each plan produces. These may affect your preference without becoming part of the calculator’s price math. Make the comparison explicit: cloth cost, accepted print direction, number of seams and actual measured width. That is more useful than declaring wide backing always cheaper or ordinary backing always more economical.
Recheck width after material preparation
The single-panel advantage exists only if the usable width still covers the required dimension. If a prepared fabric becomes narrower, a plan that fits before preparation may not fit afterward. Increasing a percentage purchasing allowance adds length along the roll; it does not create width. Re-enter the dependable usable width and check the panel count instead of hiding the issue inside a buffer.
Near a width threshold, the cost difference can change abruptly. A single panel that misses the required dimension by a small amount may become a two-panel purchase in this simple model. You might instead design a border or insert, but that is a different layout requiring its own measurements. The tool does not invent an insert or assume the offcut from another project will fit.
This is why a label such as wide backing should be treated as a product description, not a numerical input. Hancock’s quilting information offers general measurement context, but your project’s dependable widths should come from the cloth and preparation you will actually use. Neither a general chart nor an online result measures a specific piece in your cupboard.
Choose the plan you can verify at the table
The narrow-cloth example needs five yards with two vertical panels; the unrestricted wide-cloth example needs two yards with one rotated panel. Those figures use the stated dimensions and allowances and should not be copied to another quilt without recalculating. They answer a precise geometry question, while print preferences and material decisions remain yours.
Keep both notes when the choice is still open, then delete or clearly mark the rejected one before cutting. Write the selected usable width and direction on the final note. For more boundary cases, the yardage examples and chart show how panel counts change with different top sizes. The useful habit is to preserve the assumptions with every number you save.
Frequently asked questions
Does 108-inch backing always mean 108 usable inches?
No. Measure or confirm the usable span after excluded edges and any preparation. The calculator needs that actual width.
Does the metre result use metric purchase increments?
No. It converts the rounded yard purchase to metres. Apply a retailer’s own metric cutting increments separately.
Keep the plan with your fabric
Use the quilt backing calculator to make a cut note for your measured top. Confirm the usable width, allowances and print direction before buying. Copy the note, label the fabric and check the assembled back before trimming.
More notes from the sewing table
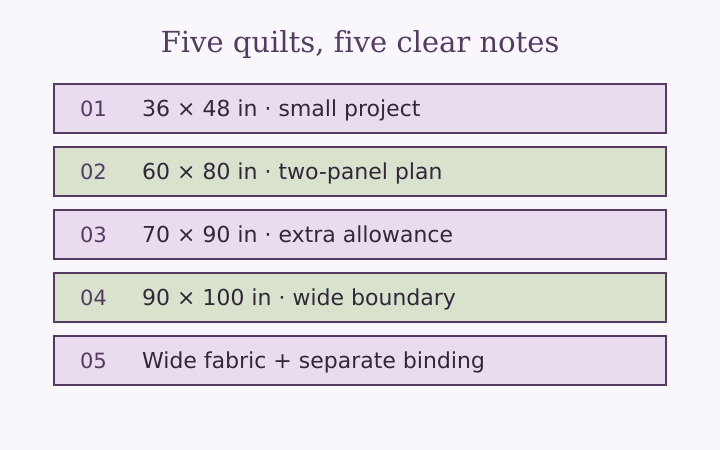
Quilt Backing Yardage Chart: Five Worked Examples
Explore five quilt backing yardage examples with explicit top sizes, widths, seams, cut lengths, quarter-yard rounding and optional binding.
Read the note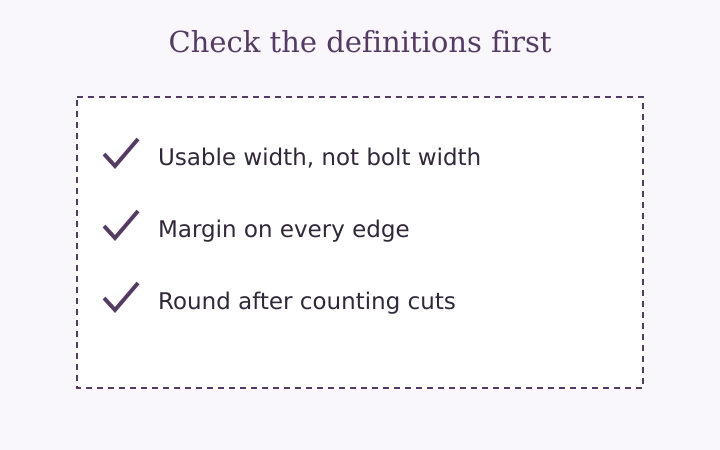
Quilt Backing Yardage Mistakes to Catch Before Cutting
Avoid quilt backing yardage errors caused by nominal widths, missing seam losses, wrong margins, early rounding and unmatched print directions.
Read the note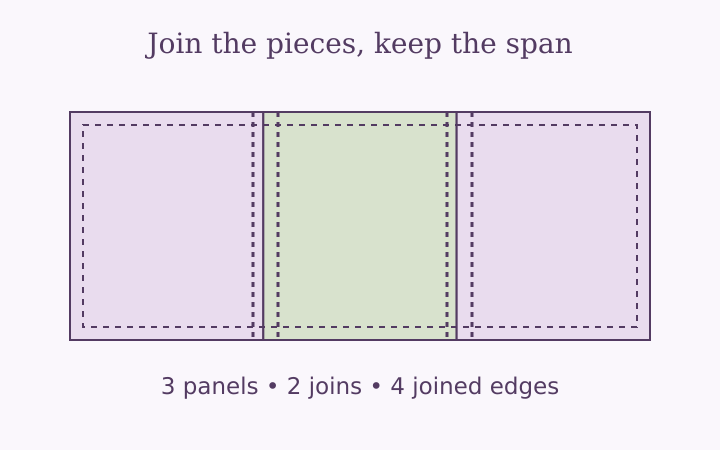
How to Piece Quilt Backing Without Losing Coverage
Learn how to piece quilt backing with usable-width measurements, seam-aware panel counts, orientation checks and a clear assembly note.
Read the note